
Saturday, 11 January 2014
Wet felting and Needle felting: Part 1.
As part of our technique workshops in felting and needle felting, I produced this tree in grey and black. I choose these colours because the theme I am focusing on in this project is nature and in particularly winter.

Wednesday, 20 November 2013
Weaving part 1
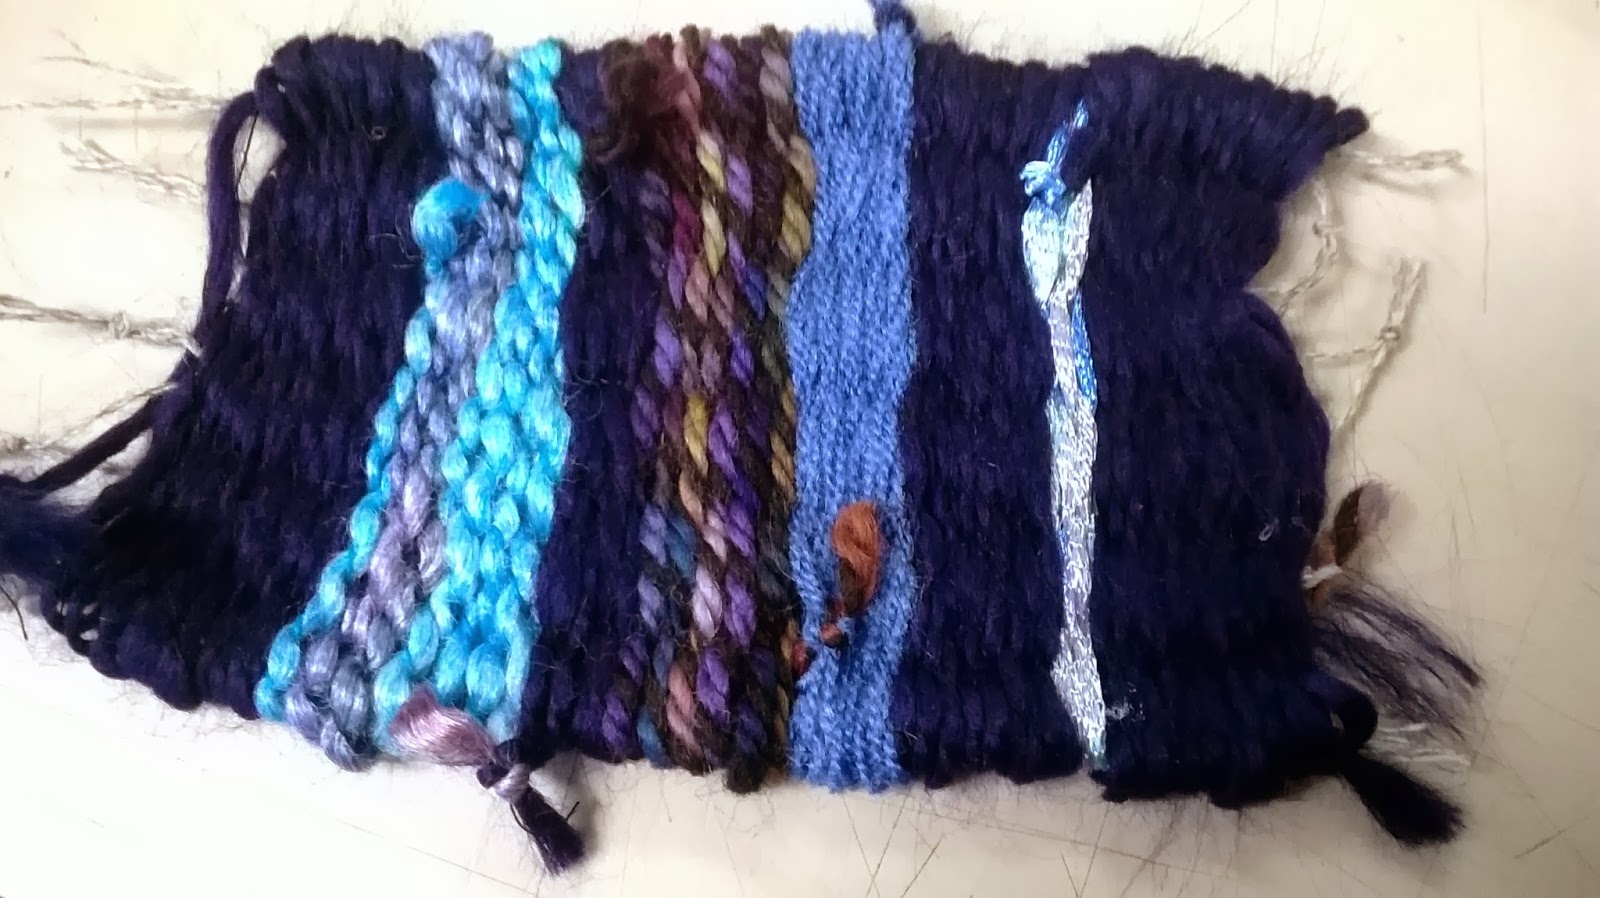
I found weaving to be very enjoyable and using the peg looms
was quite easy once I got the hang of it.
I created two weaving sample that were 6 pegs long (warp).


Colour theory
During the last week I did a study on colour theory and how
different colours have different effects on rooms and how they can change the
mood of rooms.
Primary colours: red, yellow and blue.
Primary colours are known as pure colours and cannot be
created by mixing any colours, the are also used to create all other colours.
Secondary colours:
orange, green, purple.
Secondary colours are a result of mixing two primary colours
together, and when you mix secondry colours you create tertiary colours.
Colours in rooms of the house:
Red – passion – dinning room
Pink – love – bedroom
Fusia – passion – bedroom
Orange – stability, warmth – living room, dining room
Green – nature, energy – bedroom, living room
Blue – calming soothing, loyalty, prevents nightmares –
bedroom, bathroom, study
Yellow – happiness, enery, sunshine – kitchen, dining room,
north facing rooms
Lilac – spiritual matters, feminine – bedrooms, bathrooms
Purple – creativity, fertility, joey, magic, evil, sex,
death
Brown – security, practicality, stability – living room
Black – death, drama – none colour that absorbs colour,
should be used in moderation
knitting part 1
I did my knitting workshop at college. I learnt how to knit
a couple of years ago, but since then I had forgotten exactly how to, but once
I was shown I picked it up quite fast, and found it very enjoyable.
A created a sample 30 stitches by 20 rows.
I used 5.5 mm bamboo needles.


Tuesday, 19 November 2013
New project: Natural vs. Man Made
I have begun a new project; 'Natural vs. Man Made'. The brief is to explore aspects of both the nature and the man made around us. As part of this project I am to produce a sketchbook showing both made mad and natural, also to produce various A3 sheets to show how i have developed my research into design, which I will then be printing onto a wall paper.
Sunday, 3 November 2013
Fun fair project evaluation
Project evaluation
We were set a brief titled ‘’all the fun of the fair’’. The
overall outcome of this project was to produce a final repeat print on fabric;
the repeat print had to be based on fun fairs. I created my final design by devolving
research I gathered and put into a sketch book. From my sketchbook I produced
two visual sheets and two mood boards, and then devolved these sheets into my
final design.
Over the summer holidays and the first week of college I
collected a selection of secondary research, of which i put into a sketchbook. I also went on a
college trip to Scarborough in order to collect my own primary research.
While in Scarborough I took my own photos of project related
things including rides, arcades and text fonts. I found the trip to Scarborough
useful because it helped me gather my own research and gave me good ideas
towards developing my sketchbook and gave me ideas towards my final piece.
From the research I gathered over the summer I produced a
full sketchbook about funfairs. I did this by sticking in pictures and developing
then, or even just creating my own images. I looked into rides, posters and the
freak show. I looked at several different artists within my sketchbook.
In my sketchbook I researched two repeat pattern artists,
one textile/ costume designer and two modern artists. They were Harry Napper,
Ian O’Phelan, Austin Sanderson, Tom Anderson and Carla Dentamaro.
I then produced two visual sheets, which were a collection
of images related to funfairs. I then produced two mood boards. The visual
sheets and the mood boards were both used to develop into my final idea.
After finishing all my sheet work, I started by drafting out
an idea for my tracing. When I was happy with my idea I produced my final idea
and printed it onto tracing paper so that the print room technician could use
it to expose the screen I would be making my samples and final piece from.
After I had my final design exposed into a screen I started
in the printroom, where I produced 22 sample prints using a variety of
techniques, including puffbinder and devore.
Once I had a suitable amount of sample repeat prints, we had
a class discussion where together we choose with of the sample each person had
produced was the strongest print. When my final idea was choosen I then went
onto devolping that one idea to include other techniques and to include
stitching. I produced two sample of my final idea, both with different coloured
puffbinder. I choose with puff binder would work best in my final idea, then I
repeated what I had done in my sample to print my final piece. I found that I
could work very well and easily in the printroom.
During this project I did my sewing machine inductions.
First we went over the health and safety rules then we completed 3 sewing
machine ‘driving lessons’, we did this by following lines on paper. We then
completed a sheet of stiches on a piece a4 calico, and then a free handed
sample. We also did a layer and burn sample. Through the sewing machine
induction I greatlty improved my sewing machine skills, and this was useful
towards my final piece.
I found that some of my repeat print sample didn’t work the
way I wanted them to, but I learnt from the mistakes I made and used this to
make sure that I didn’t make the sample mistakes again. Also I feel that I
could have really improved on my sketchbook work by using my annotation, making
it more tactile and including more research.
Overall I was satisfied with my final outcome for this
poject.
Techniques used:
Dying with procions, dying with brusho inks, puff binder,
stitching, devore.
Fun fair print: Part 3


Fun fair print: part 2
These are all the sample print that i produced through my time in the print room. I used different techniques including, puffbinder, devore and stitching.


Wednesday, 2 October 2013
sewing workshop: part 2
Today I started freehand machining in my sewing workshops. This is the model I used:


Fun fair print: part 1

 I started off my fun fair print by creating 2 theme sheets (bottom 2) using the research I gathered for my summer 'fun fair' sketchbook. I then devolved my theme sheets into visual sheets (picture 3) only using pat colour media such as gouache paint. The top two pictures are of my final design for my print, the bottom of the two is on paper and the top of the two had been printed onto tracing paper so It can been made into a screen for me to use to print my design.


Subscribe to:
Posts (Atom)